Update 22.02.2024
Two years after I wrote this blog post, I noticed that the Rails team had created an official solution to generate new Rails applications with Docker called Docked, and you might want to use that instead of my tutorial.
Despite that, I just updated this tutorial to work with the latest version of Rails (7.1.3), and you are welcome to use it to create your Rails application with Docker.
There are many tutorials you can Google on how to dockerize an existing Rails application, but what about creating a new Rails application from scratch using Docker?
That is the question I wanted to answer while bootstrapping a new pet project with Rails. My goal was to successfully run the command rails new without having Ruby installed in my host machine and, of course, run the application on a container.
The only thing you will need to have installed in your machine to follow this tutorial is Docker. Please find out how to install it in your platform at docs.docker.com/get-docker.
Step 1: Create the folder for the new Rails application
First, open a terminal and type the commands below that will create and navigate inside the new folder for your project:
mkdir my-app
cd my-app
If you are using Windows, you might have to use different commands to achieve the same result.
Step 2: Create the Docker files
Once inside the new folder, we create the file Dockerfile-dev with a minimal setup to create an image that supports Ruby:
FROM ruby:3.2.3

WORKDIR /usr/src/app
Before building the new Docker image, let’s create a file named docker-compose.yml with the following content:
services:
  web:
    build:
      context: ./
      dockerfile: Dockerfile-dev
    ports:
      - "3000:3000"
    volumes:
      - .:/usr/src/app
The file above sets up a container called web that exposes the port 3000 (the port used by Rails) and sets up a volume that mounts the current path of the host machine to the folder /usr/src/app in the container.
The volume is essential so that when we generate the Rails application in the container, the template files will persist in the host filesystem.
Step 3: Generate a Rails application
Now we can go ahead and access the terminal of the container while exposing the service ports so we can access the Rails application later on via localhost:3000:
docker-compose run --service-ports web bash
Once inside the container, we can install Rails and generate a new application:
gem install rails
rails new . --name=my-app
After running these commands, you should see all the files generated by Rails in the project folder.
Since Rails 7.1, the new app generator creates a Dockerfile in the root folder. The purpose of this file is to deploy the application in the production environment and not for development purposes.
Step 4: Start the application
Next, we can start our Rails application using the option -b to bind the webserver to the correct IP address.
rails s -b 0.0.0.0
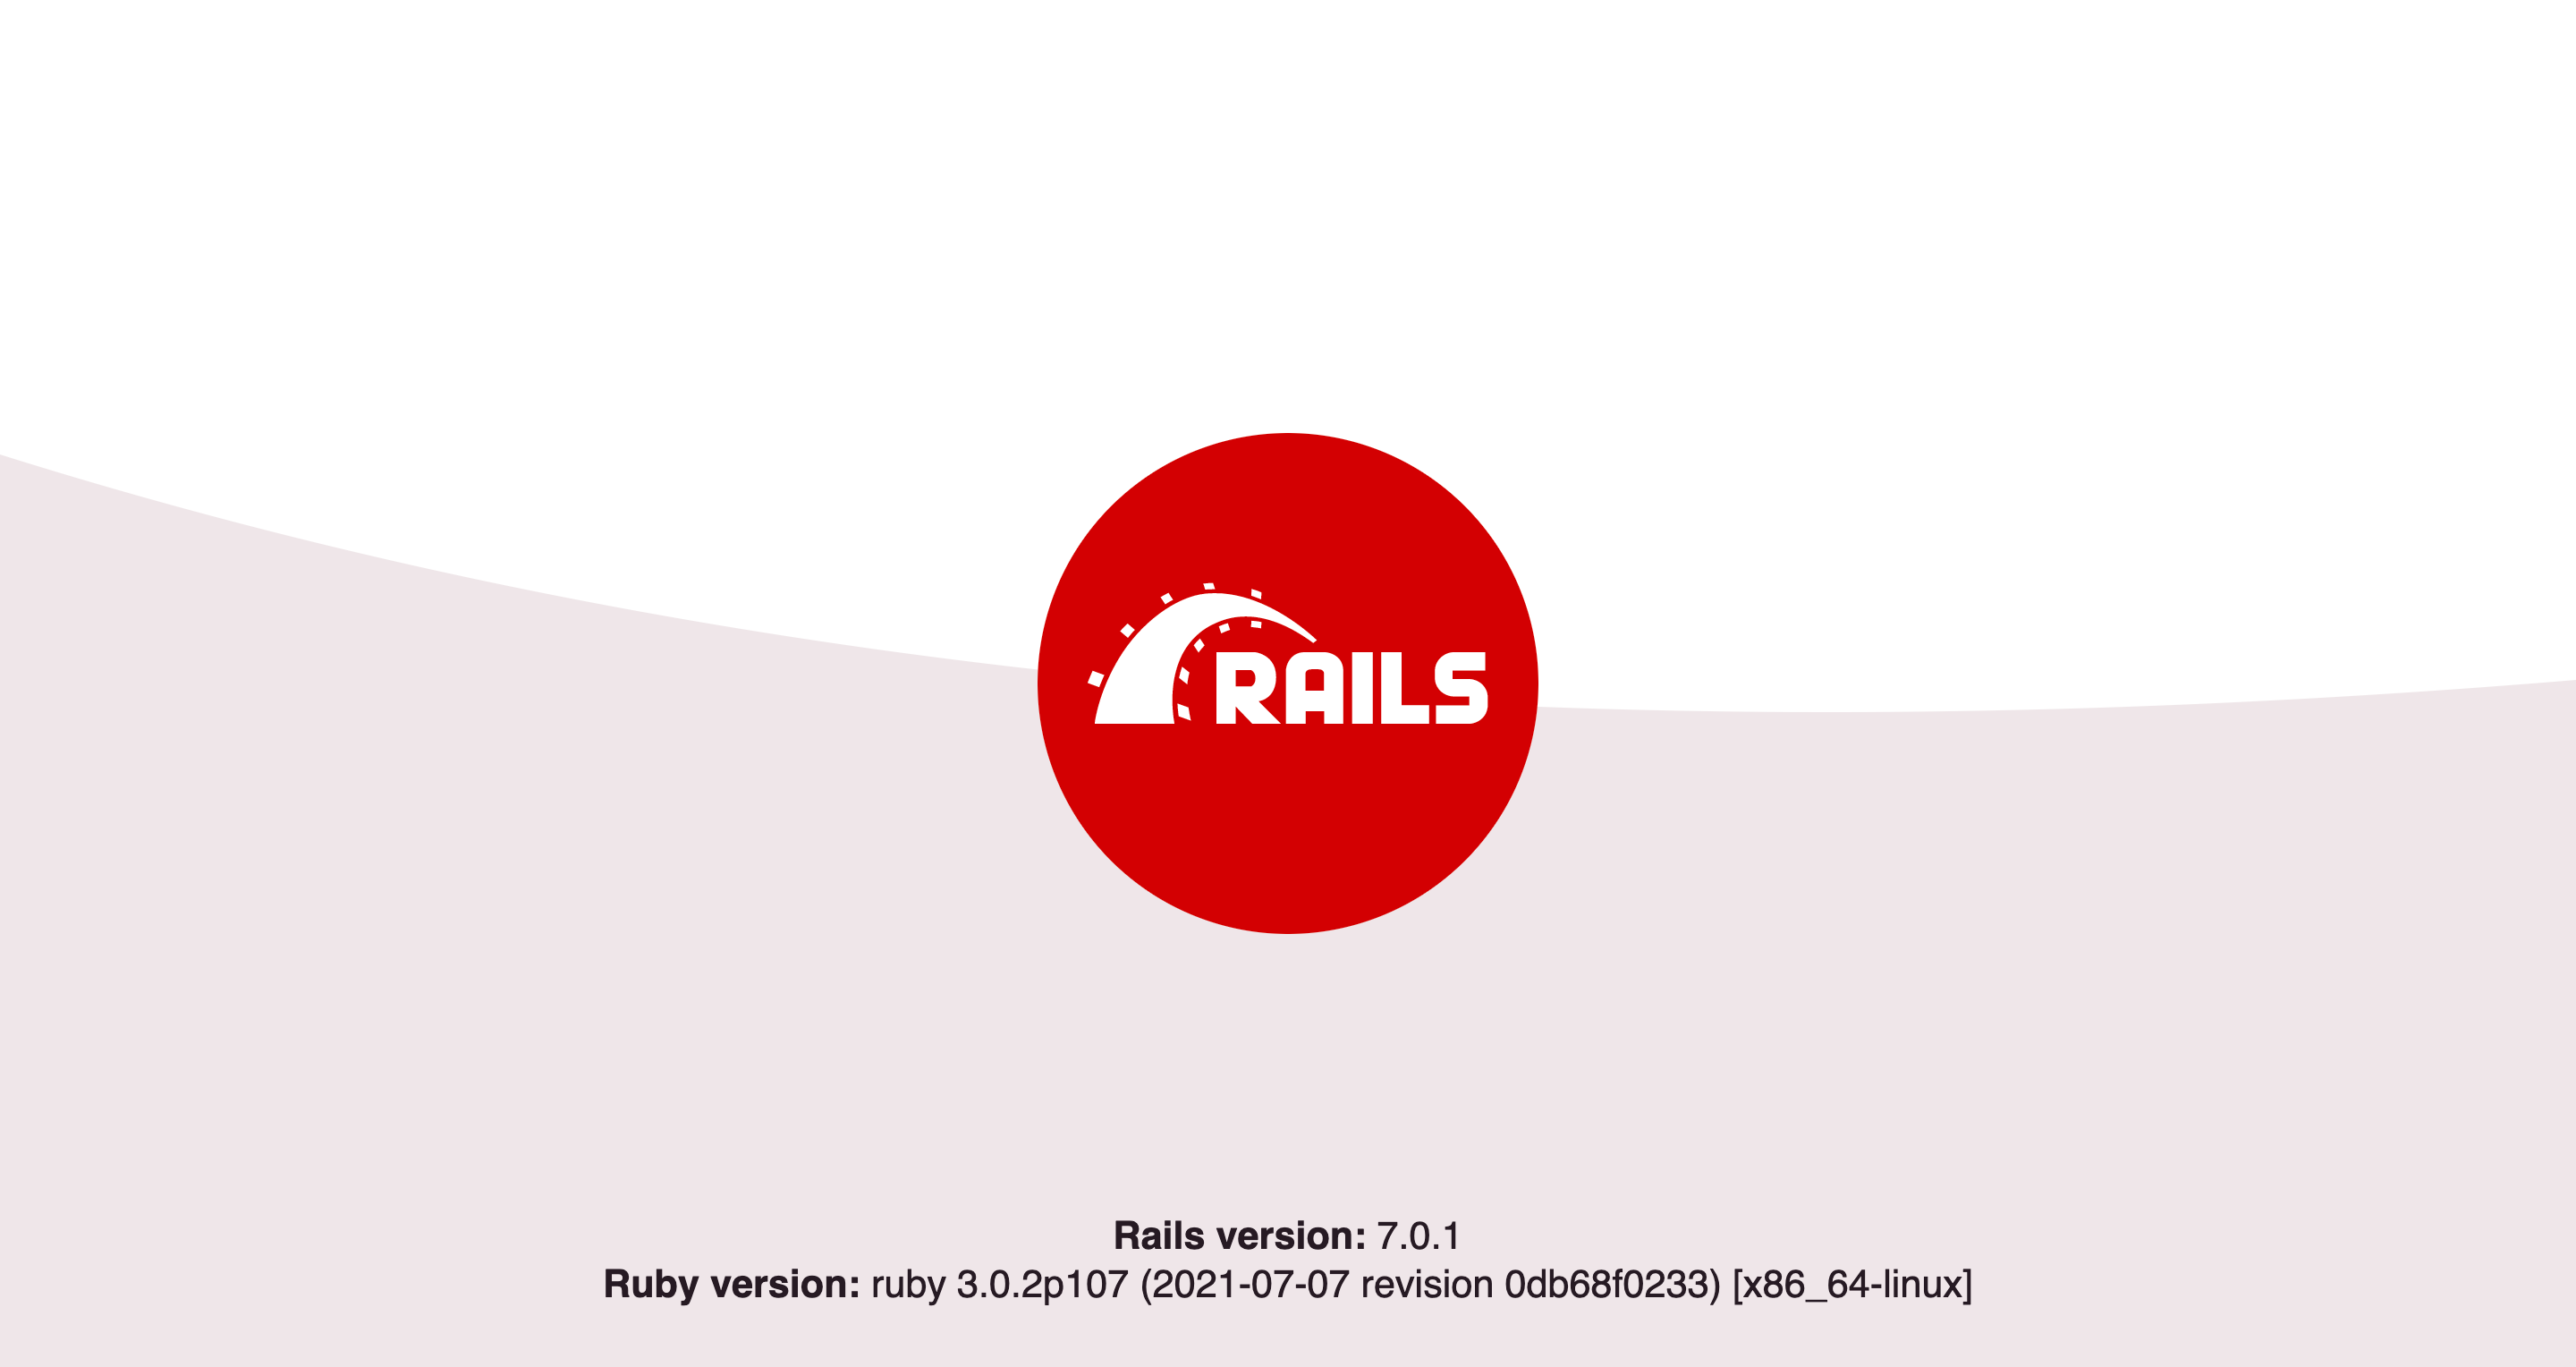
If everything goes well, we should be able to access localhost:3000 and see the default homepage of our new Rails application:

Step 5: Install project dependencies when building the Docker image
We generated the new Rails application, and we can start it from inside the container, but if you exit the container and reaccess it, you will see that we can no longer start the server.
- Press
ctrl+cto stop the server - Type
exitto exit the container - Type
docker-compose run --service-ports web bashto start a new terminal session - Type
rails s -b 0.0.0.0to start the Rails application
The terminal will show an error message that it can’t find the command rails. This error happens because we installed Rails in the previous terminal session, and it doesn’t persist between sessions.
To fix that, we can change the file Dockerfile-dev to install all the project dependencies, including Rails as part of the build process:
FROM ruby:3.2.3

WORKDIR /usr/src/app

COPY . .
RUN bundle install
The last two lines copy all the files from the current folder of the host machine to the Docker image, including the Gemfile, and run the command to install all the project dependencies.
From the host machine, we can now run docker-compose build to build the new image that will contain all dependencies installed.
After that, we can then access a new terminal session in the Docker container and start the Rails application:
docker-compose build
docker-compose run --service-ports web bash
rails s -b 0.0.0.0
To confirm that everything is working, you can access localhost:3000 and verify that the default Rails homepage shows up.
Step 6: Set up a default command for the main container
Before we go, let’s define a command for our main container, so we can start the Rails application by running docker-compose up:
services:
  web:
    build:
      context: ./
      dockerfile: Dockerfile-dev
    ports:
      - "3000:3000"
    volumes:
      - .:/usr/src/app
    command: rails s -b 0.0.0.0
If you now run docker-compose up from the host machine, the Rails application will start, and you should be able to access it at localhost:3000.
With that, you are ready to commit and share the bootstrap of your Rails application with your coworkers.
Conclusion
I have two computers at home I use for coding, and none of them has any programming language installed. Instead, I rely on Docker to encapsulate and standardize the development environment for all my projects.
This approach allows me to get rid of tools such as rvm to manage different Ruby versions on my machine, and it ensures that I share the same development environment as my coworkers.